quarter three
I did not take any of these pictures. I used and edited them with permission. Except for the Google photos. Sorry.
|
|
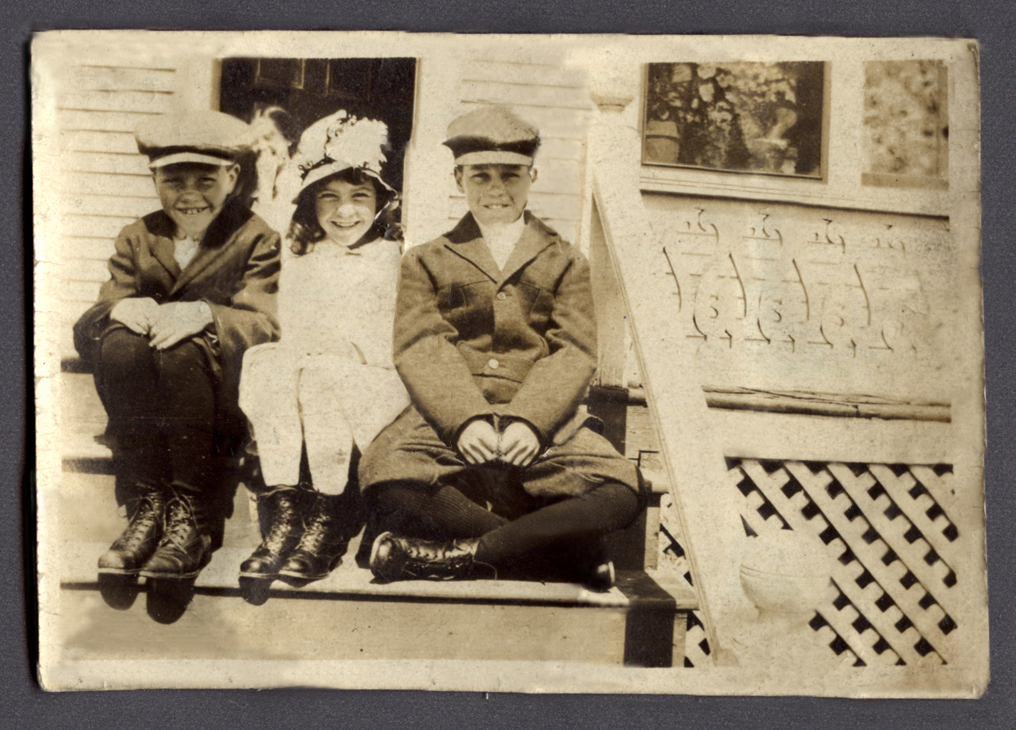
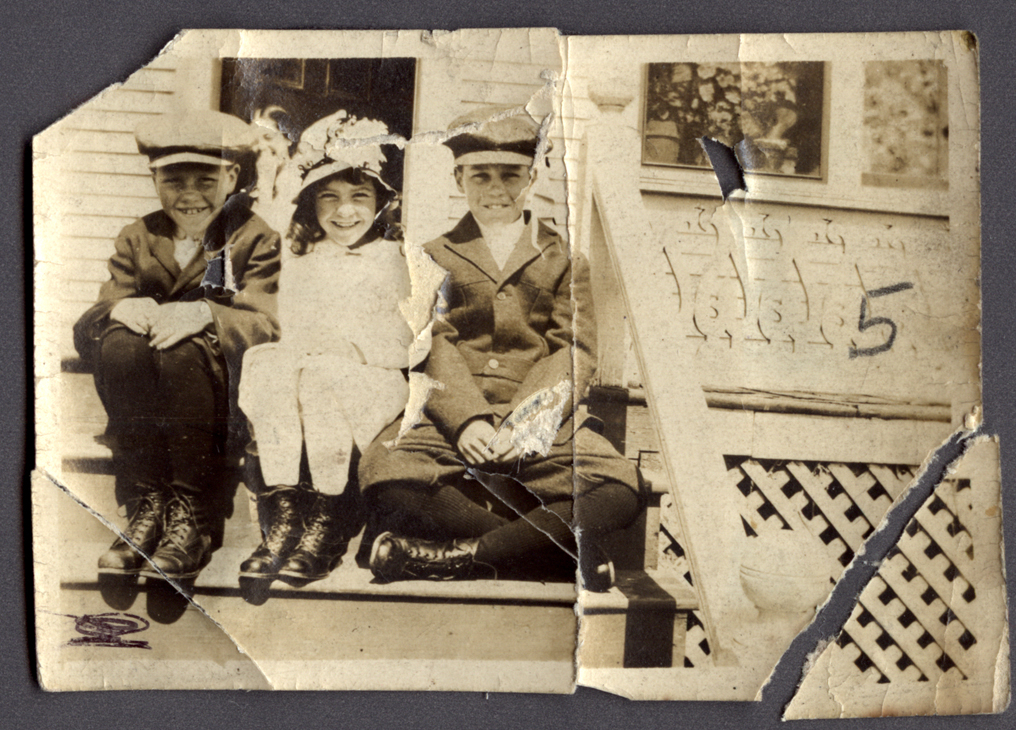
Project used Photoshop to repair a damaged photograph by hiding blemishes and repairing tears and creases, including artificially replacing the top left and bottom right corners. The clone stamp was used for the edges and creases, and Copy/Paste was incorporated to replace the missing arm.

|
|
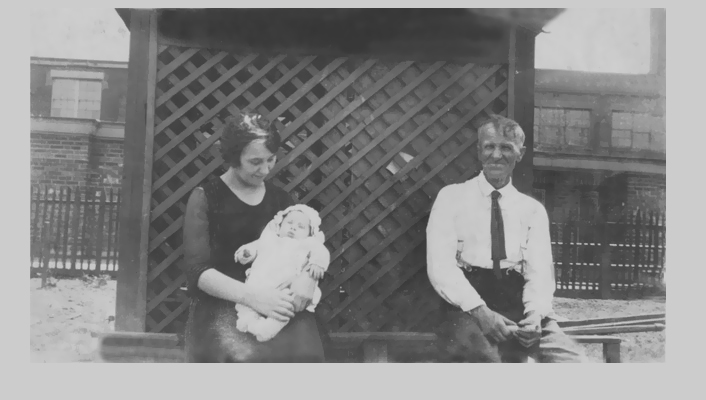
Project used Photoshop to replace missing corner piece and retouch the damage done to the original. Any outside sources could be used (i.e. an image of a coat). The background was repaired with the clone stamp, as were the creases on the man's jacket and any other cracks.
Coat image courtesy of Etsy/Google.
Coat image courtesy of Etsy/Google.
|
|
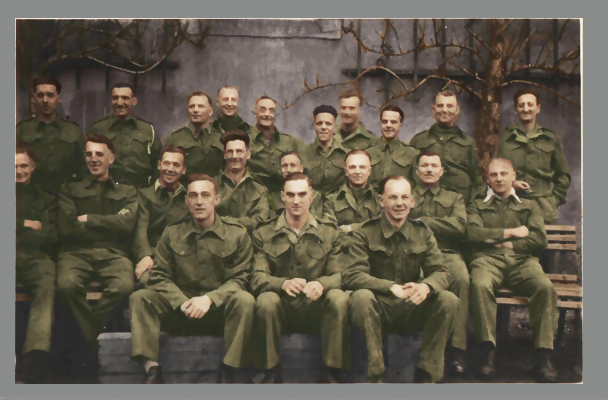
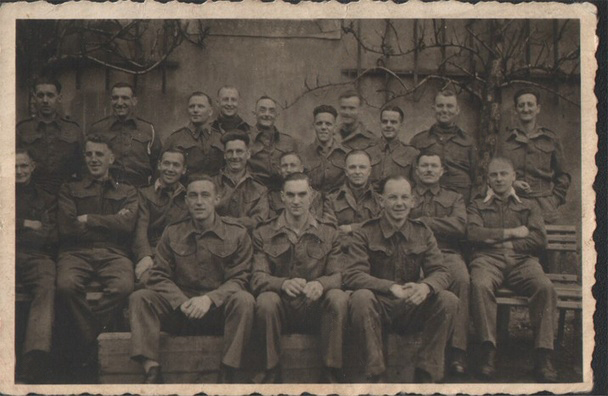
Project used Photoshop to recolor and restore damage done to the image, including blurring out the grain of the old photo. Selection, brush, and color balance tools were used on the soldiers, and a layer of surface blur applied over the entire picture erased many of the the grains.
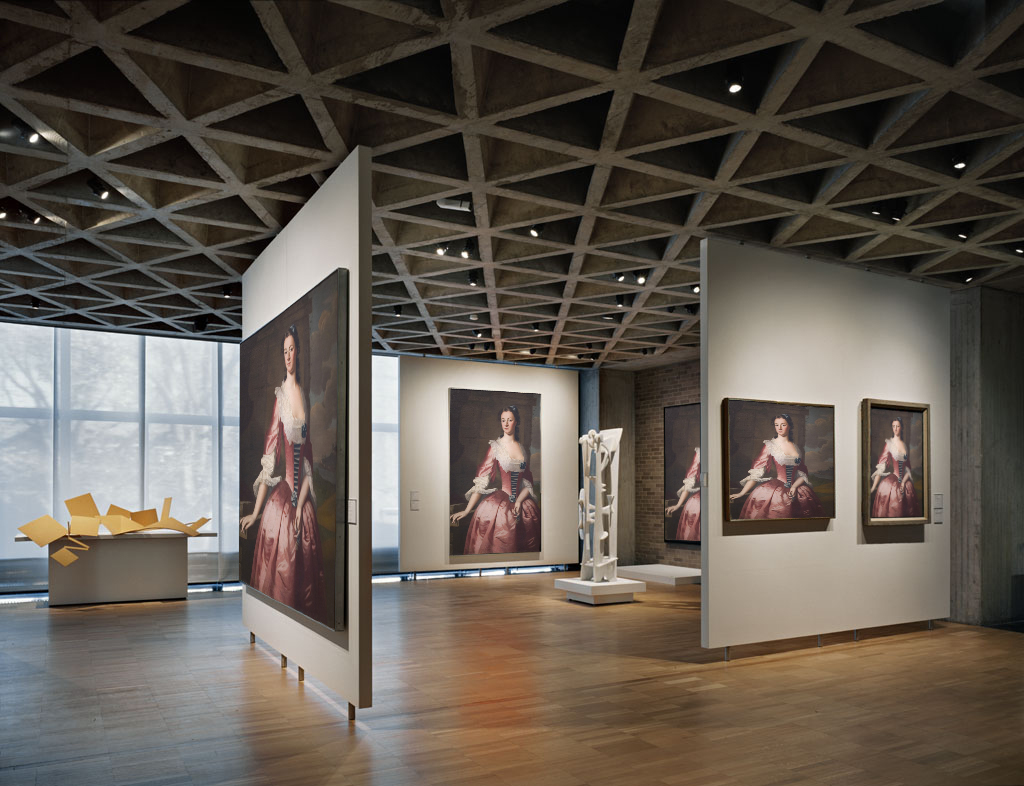
Project used Photoshop to synthetically insert copies of one image into five different frames at five different angles. The skew tool was used to shape the pictures on placement to fit into the existing frames.
|
|
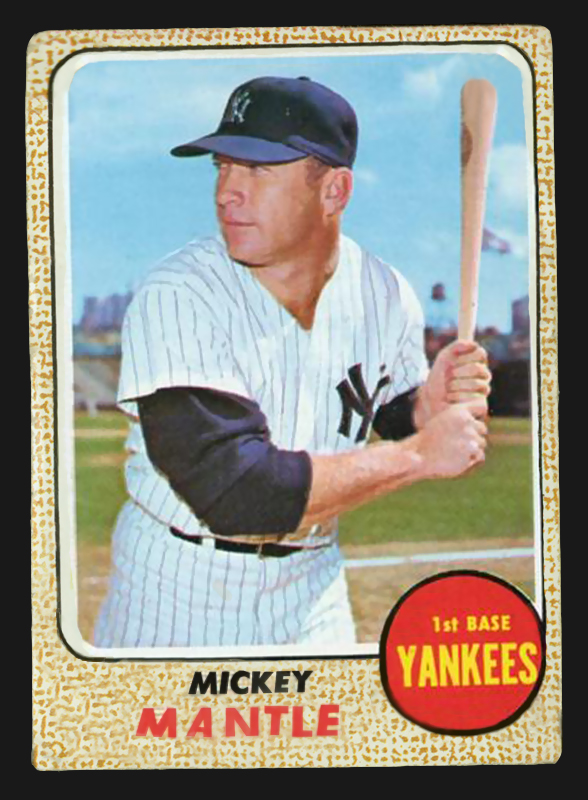
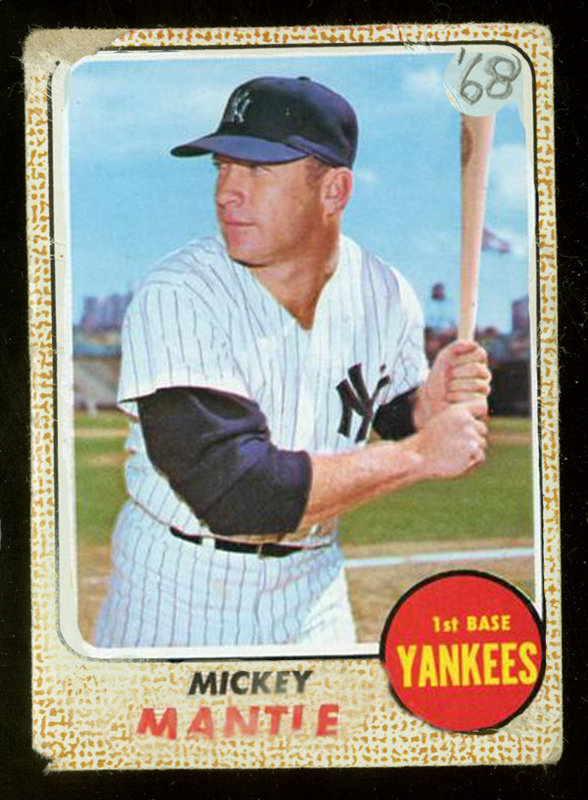
Project used Photoshop to rebuild and repair damage done to a 1969 baseball card. Steps involved repairing corners with the clone stamp and copy/paste, removing writing, clone-stamping over where ink had rubbed off, recoloring letters (polygonal select/low opacity color fill), fixing the torn bat, and blurring out the grain with a light layer of surface blur.
|

|
Project used Photoshop to blur out the old grain and imperfections of this damaged photograph, including filling in the rubbed-away edges of the photo. Picture was converted to black and white and the clone stamp and blur tools were used to restore the image, and a new, undamaged border was created.
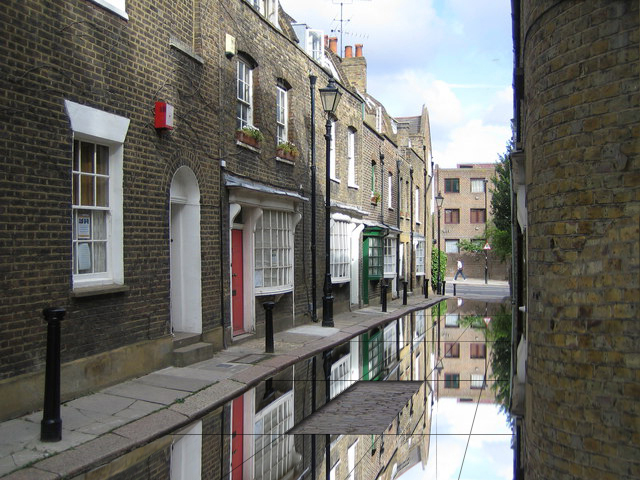
Project used Photoshop to copy and simulate a mirrored street. The street was mirrored, manipulated with the skew tool, and lines were drawn to create an illusion of paneling. A panel was removed to show the street below. The mirrors were then raised above the cobbles using a drop shadow.
|
|
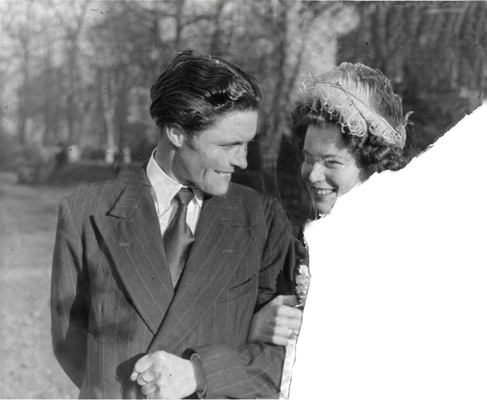
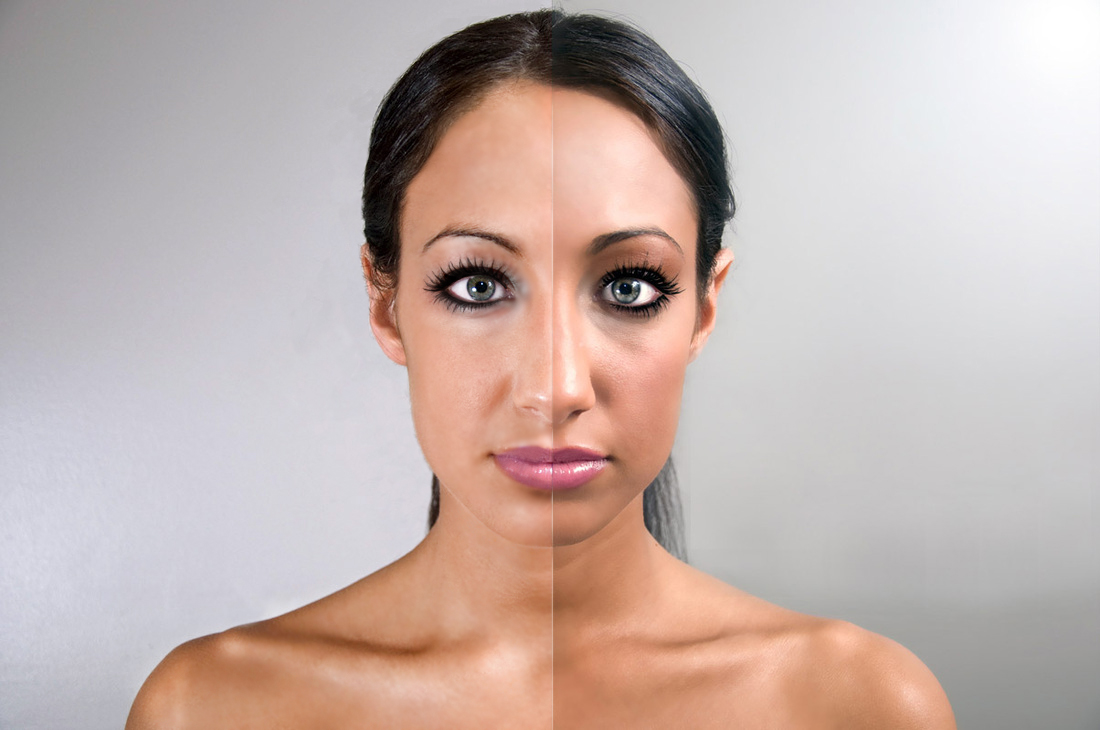
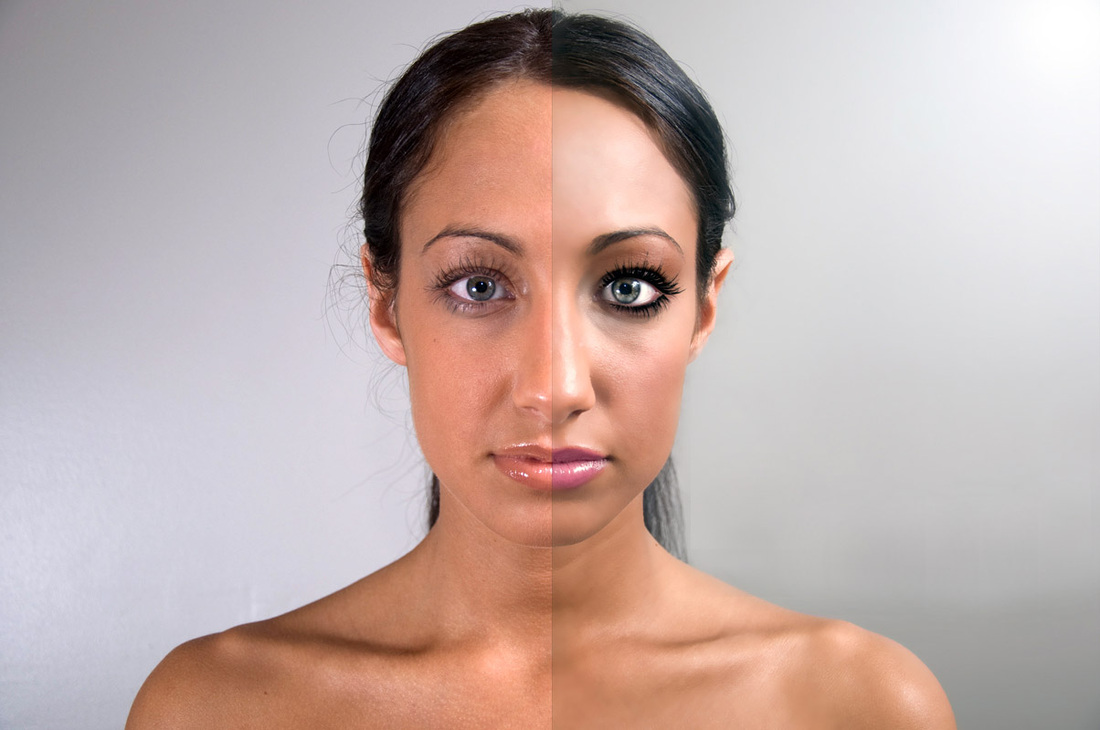
Project used Photoshop to attempt to match the two halves of the photo. "Mascara" was applied by painting on thin eyelashes and lowering the opacity, and lipstick was a low opacity color fill. Fly-aways were erased and the hairline was smoothed out. Highlights were created with the dodge tool, pores were blurred away, color balance was corrected with the Color Balance tool, and then the entire skin layer was desaturated.
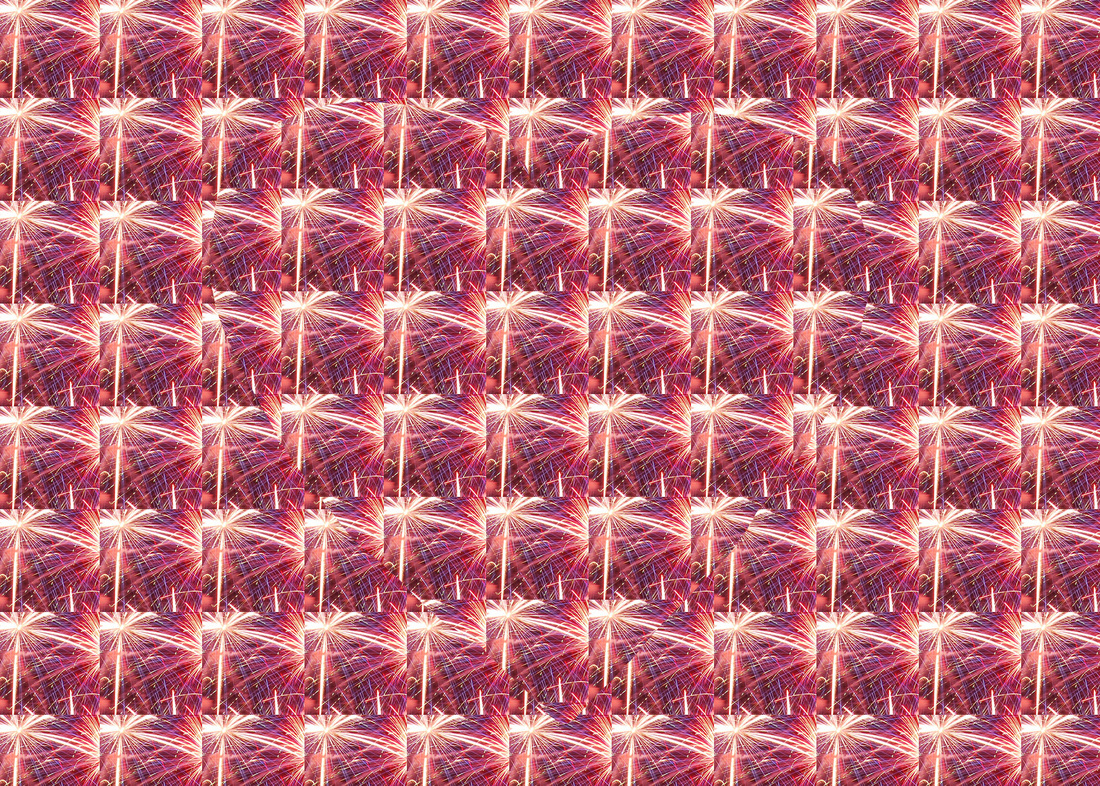
Projet used Photoshop to create a Magic Eye image! A layer of patterns was made (using clips from a photo of fireworks) and a shape was cut out and then offset to create the 3-D look of the final image. Fireworks photo courtesy of Google.
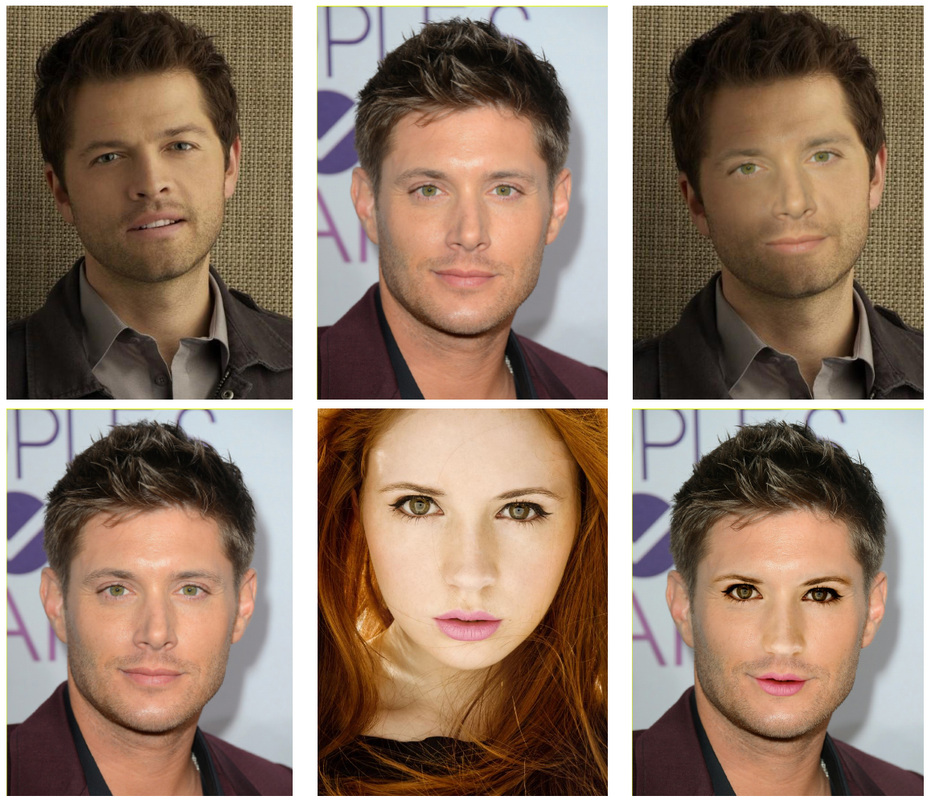
Project used Photoshop to copy and edit faces onto a different person's head. Edits in color balance were made to the faces, and sections were erased in low transparency.
Top row: Misha Collins, Jensen Ackles; bottom row: Ackles, Karen Gillan. Photos courtesy of Google.
Top row: Misha Collins, Jensen Ackles; bottom row: Ackles, Karen Gillan. Photos courtesy of Google.
